Conference System Installation: What to Expect and How to Prepare

Installing a conference system is more than just setting up microphones and speakers — it’s about creating a communication environment that supports clarity, collaboration, and efficiency. Whether it’s a small meeting room or a large corporate boardroom, proper installation ensures that everyone in the space can hear and be heard clearly, both in-person and online.
Many businesses underestimate the importance of planning and preparation before installation begins. Factors such as room acoustics, cable routing, microphone placement, and system integration all play a critical role in how the final setup performs. Without careful coordination, even high-quality equipment can deliver disappointing results.
A well-executed conference system installation involves more than technical expertise — it requires understanding the space, the users, and the communication goals of the organization. This guide walks you through what to expect during the installation process, what preparations are needed, and how to ensure your system performs at its best from day one.
Setting up a Conference System in your office, boardroom, or council chamber is a strategic move toward better communication, professionalism, and efficiency. But if you’ve never gone through a conference system installation before, you might be wondering what to expect, what steps are involved, and how to prepare your space.
This article will walk you through the key phases of installation, the types of Conference Microphones involved, and how to ensure everything goes smoothly — whether you’re equipping a small meeting room or a large event hall.
Why Install a Conference System?
In today’s hybrid and fast-paced business world, effective communication is at the heart of every successful organization. A well-designed conference system ensures that meetings run smoothly, ideas are exchanged clearly, and participants—whether on-site or remote—can collaborate without technical interruptions.
Beyond convenience, installing a conference system provides several key benefits:
- Improved Audio Clarity: Eliminates echo, background noise, and uneven sound distribution so every voice is heard clearly.
- Professionalism and Efficiency: A reliable system enhances the company’s image and reduces time wasted on technical troubleshooting.
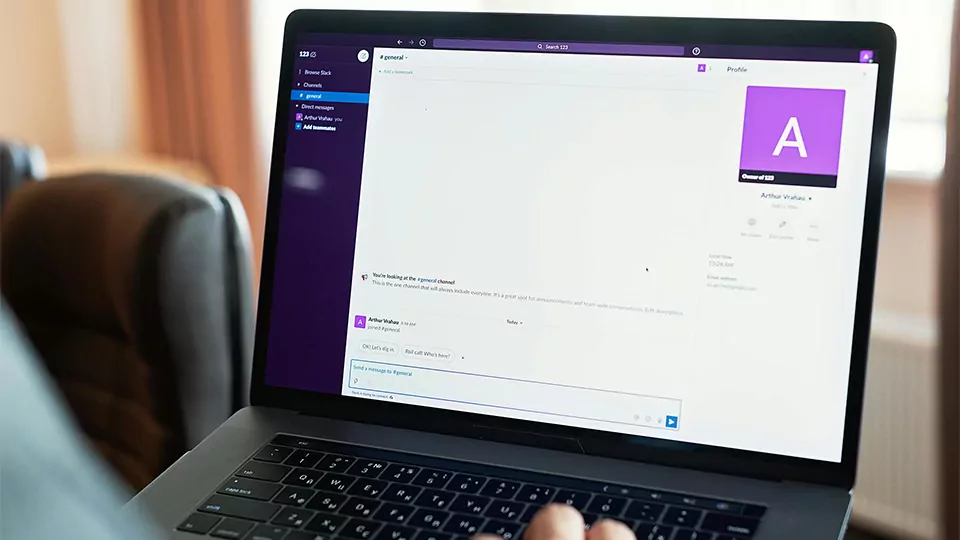
- Support for Hybrid Collaboration: Seamlessly connects in-room participants with remote teams through integration with platforms like Zoom, Microsoft Teams, or Google Meet.
- Scalability and Flexibility: Systems can be tailored to fit meeting rooms of any size, from small huddle spaces to large boardrooms and auditoriums.
- Long-Term Value: Investing in a high-quality conference setup reduces recurring costs and ensures consistent performance for years.
Simply put, installing a dedicated conference system isn’t just a tech upgrade — it’s an investment in better communication, productivity, and teamwork.
A modern conference system offers:
- Clear and consistent audio for all participants
- Structured communication via delegate & chairman microphones
- Integration with video conferencing tools
- Scalability for future needs
It’s an essential investment for businesses, educational institutions, government agencies, and more.
Step-by-Step: What to Expect During Installation
Installing a conference system involves several carefully planned stages — from site assessment to system testing — to ensure every component works seamlessly together. Understanding these steps helps organizations prepare effectively and minimize downtime during installation.
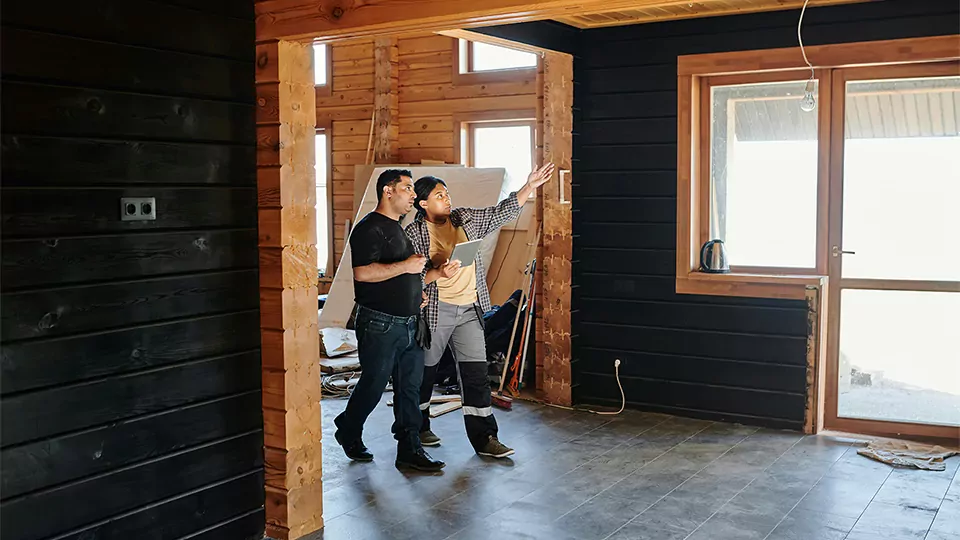
1. Site Assessment & Consultation
Before any equipment is installed, the integrator will conduct a detailed site survey. This includes evaluating room size, acoustics, furniture layout, and power or network access points. The goal is to determine optimal microphone placement, speaker positioning, and cable routes to achieve balanced sound coverage.
- Room size and shape
- Seating arrangement
- Existing acoustics and ambient noise
- Power and cabling access
This helps in designing a tailored system for optimal performance.
2. System Design Proposal
Based on the survey, an audio-visual (AV) designer will propose a tailored solution that meets your specific needs — whether that involves gooseneck microphones for a boardroom, ceiling speakers for even sound distribution, or digital signal processors (DSPs) for noise control. At this stage, the system’s compatibility with your video conferencing platforms and control systems (e.g., Crestron or Extron) is also confirmed.
After the assessment, you’ll receive a proposal that outlines:
- Type and number of conference microphones
- Wired or wireless configuration
- Speaker placement and cabling routes
- Integration with displays or cameras (if needed)
- Control options (touch panels, remote controls, etc.)
This is also the stage to decide between basic or advanced features like:
- Voting modules
- Recording capabilities
- Simultaneous interpretation
-optimized.webp?v=1753331224)
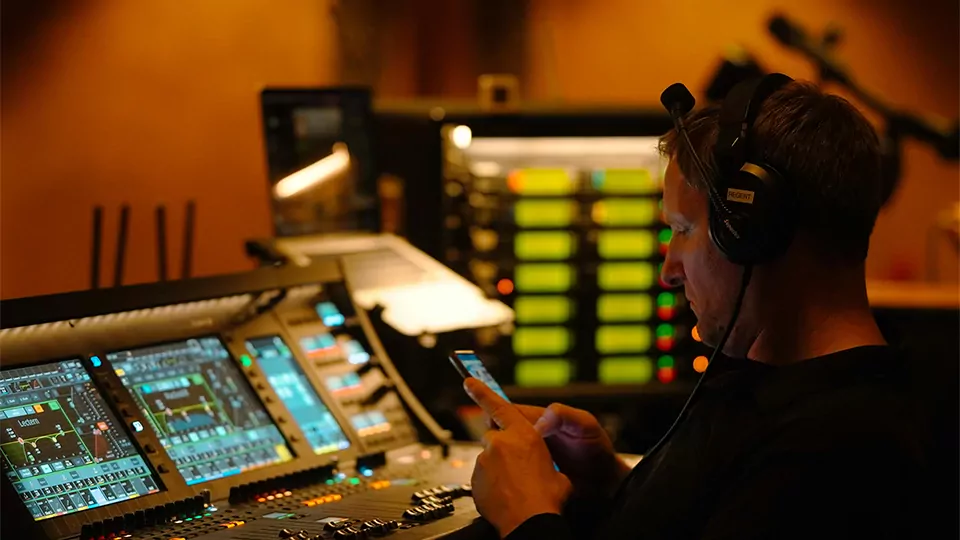
3. Installation Day(s)
Technicians then proceed with installing hardware components such as microphones, amplifiers, speakers, and control interfaces. Proper cable management is essential not only for aesthetics but also to prevent interference and ensure long-term reliability. For wireless systems, signal strength and channel coordination are tested to avoid cross-interference.
During installation, technicians will:
- Mount speakers and microphones
- Install control units and processors
- Lay and conceal cables if using wired systems
- Test sound levels, mic sensitivity, and speaker coverage
- Integrate with video or conferencing software if required
Depending on room size and complexity, this process may take one day to a few days.
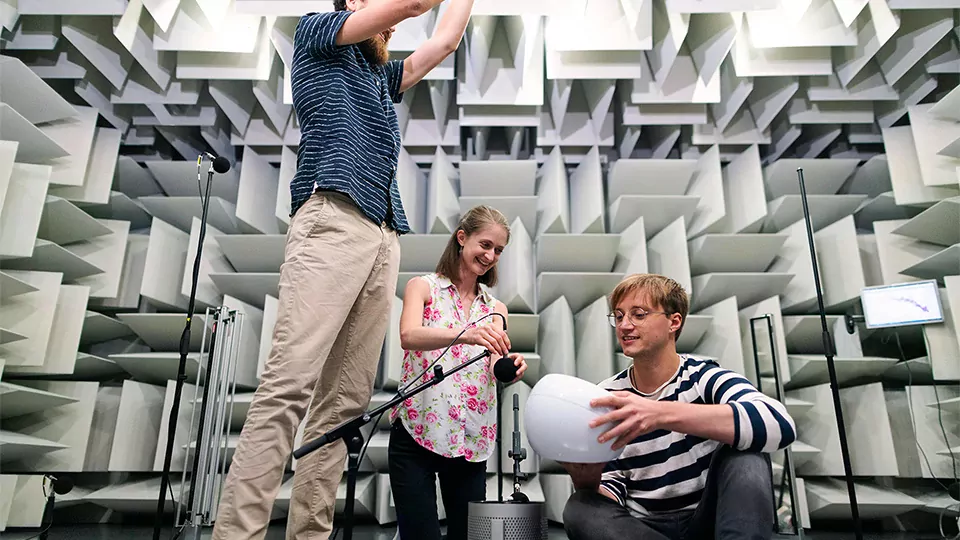
4. System Testing & Calibration
Once the physical setup is complete, the system is configured and fine-tuned. Audio levels are calibrated, DSP settings are optimized, and integration with software platforms like Zoom or Microsoft Teams is verified. Control panels and user interfaces are programmed to ensure smooth operation.
- Audio balancing (to avoid feedback or echo)
- Mic priority testing
- User role configuration (chairman vs delegate units)
- Network connection for wireless or remote systems
5. Training & Handover
Before handover, the system undergoes comprehensive testing — checking each input, output, and signal path for consistency. Technicians simulate real meeting conditions to ensure speech intelligibility, minimal latency, and full functionality of microphones, speakers, and displays.
Finally, users receive hands-on training to familiarize themselves with the system. This includes learning how to start meetings, adjust audio levels, mute microphones, and troubleshoot common issues. A proper training session helps staff confidently operate the system without technical assistance.
- Use the conference microphones
- Start/stop meetings
- Adjust audio levels
- Troubleshoot basic issues
Some providers also offer printed manuals or support access.
How to Prepare Before Installation
Proper preparation before your conference system installation can make a significant difference in how smoothly the process runs — and how effectively the final setup performs. Whether you’re working with an AV integrator or handling smaller setups internally, a few simple steps can save time, minimize disruption, and ensure optimal results.
To speed up the process and avoid issues:
- Ensure the meeting room is accessible
- Clear the table layout (especially if table-mounted mics are being used)
- Confirm your Wi-Fi or LAN availability (for wireless systems)
- Let your team know about the installation schedule
Optional: Share your room’s floor plan in advance with your AV provider.
1. Assess Your Meeting Space
Start by understanding the layout, acoustics, and purpose of your meeting room. Identify potential sound obstacles such as glass walls, air-conditioning noise, or uneven ceiling heights. Knowing these details helps your installer plan microphone placement and speaker coverage more accurately.
2. Clarify Your Communication Needs
Different rooms serve different functions — a huddle room may need a compact wireless setup, while a boardroom might require multiple microphones and video integration. Discuss your typical meeting size, frequency, and collaboration style with the installer to ensure the system is designed for your real-world needs.
3. Plan for Power and Network Access
Ensure that your meeting room has sufficient power outlets and stable network connectivity. Many modern conference systems rely on Power over Ethernet (PoE) or Wi-Fi for functionality, so having a reliable IT infrastructure is crucial.
4. Coordinate with Other Systems
If your conference room already includes displays, projectors, control systems, or video conferencing platforms, coordinate these components ahead of time. Integration testing ensures that your new system works seamlessly with existing AV equipment.
5. Schedule Installation Strategically
Plan installation during off-peak hours or non-critical workdays to minimize interruptions. Inform staff in advance about potential downtime and provide alternative meeting arrangements if needed.
6. Prepare for Training and Handover
Assign at least one designated staff member to attend system training. This person can serve as an internal point of contact for troubleshooting and ensuring that all users understand how to operate the system effectively.
By preparing early, you’re not just making installation day easier — you’re laying the foundation for a conference system that delivers long-term reliability, clarity, and ease of use.
What Kind of Conference Microphones Will Be Used?
Choosing the right conference microphones is one of the most critical parts of a successful installation. The type and placement of microphones directly affect how well participants are heard — both in-person and through online conferencing platforms. Depending on your meeting space and communication style, installers may recommend one or more of the following microphone types:
1. Gooseneck Microphones
Commonly used in boardrooms and formal meeting setups, gooseneck microphones are placed on the table in front of each participant or built into conference units. They offer excellent speech clarity and allow users to control when their mic is active using push-to-talk functions.
2. Boundary Microphones
Ideal for small to medium-sized meeting rooms, boundary mics sit flat on the table surface and capture sound from multiple directions. They are discreet, easy to install, and reduce clutter while still providing balanced coverage for group discussions.
3. Wireless Handheld or Lavalier Microphones
For flexibility and mobility, wireless microphones are the go-to option. Handheld mics are suitable for presenters or moderators, while lavalier (clip-on) mics are perfect for speakers who prefer a hands-free experience. Wireless options eliminate cable limitations and work well in multipurpose or reconfigurable rooms.
4. Ceiling Microphones or Beamforming Arrays
In larger or premium meeting spaces, ceiling-mounted or beamforming microphones provide a clean aesthetic without cluttering the table. These advanced systems use directional pickup patterns to focus on the active speaker, automatically reducing background noise and echo.
5. Delegate and Chairman Units
For structured discussions or council-style meetings, a digital conference system with delegate and chairman microphones may be installed. These systems support features like voting, speech control, and individual mic activation, ensuring orderly communication in large groups.
Each microphone type serves a different purpose — and often, the best installations combine multiple styles for optimal sound pickup and flexibility. Your installer will assess your room acoustics, participant layout, and meeting format to select the best combination for consistent, clear audio across every meeting.
Conclusion
As workplaces continue to evolve, so must the technologies that power communication. Wireless conference systems are no longer a luxury — they’re quickly becoming the standard for modern offices that value flexibility, efficiency, and professional presentation.
By removing the physical limitations of cables, wireless systems enable faster setups, cleaner meeting environments, and easier collaboration across departments and locations. They integrate seamlessly with today’s digital tools, supporting both in-person and hybrid meetings with crystal-clear sound and intuitive controls.
While initial investment may be higher than a basic wired setup, the long-term benefits — including scalability, mobility, and reduced installation costs — make wireless solutions a future-proof choice. Organizations that adopt this technology now are better equipped to adapt to changing work trends and communication needs in the years ahead.
In short, going wireless isn’t just about upgrading hardware — it’s about investing in smarter, more connected ways to work. For companies aiming to create collaborative, future-ready meeting spaces, a wireless conference system is the natural next step.